Making your domain serve from Belov Cloud once your migration is verified. This is the step that takes you live. There's no certificate to buy, upload, or renew — HTTPS is handled for you, now and every renewal after.
1
Open the site's Domain tab
The panel shows the exact DNS records to create, with the values already filled in for your domain and its www counterpart. You copy, you don't calculate.
2
Add the records at your DNS provider
Paste them into your registrar or Cloudflare dashboard exactly as shown. Leave your MX (email) and TXT (SPF/DKIM) records untouched — the panel's instructions call this out.
3
Go-live is automatic
The platform watches for your records to point here, and the moment they resolve, the site starts serving from Belov Cloud. Your previous host keeps serving until the records propagate, so a visitor mid-switch always lands on a working site. You get an email when it flips.
4
HTTPS issues itself
As the domain resolves, a certificate is provisioned automatically — and renewed automatically for as long as the site lives here. If a certificate ever needs reissuing later, the self-healing copilot reissues it and logs that it did.
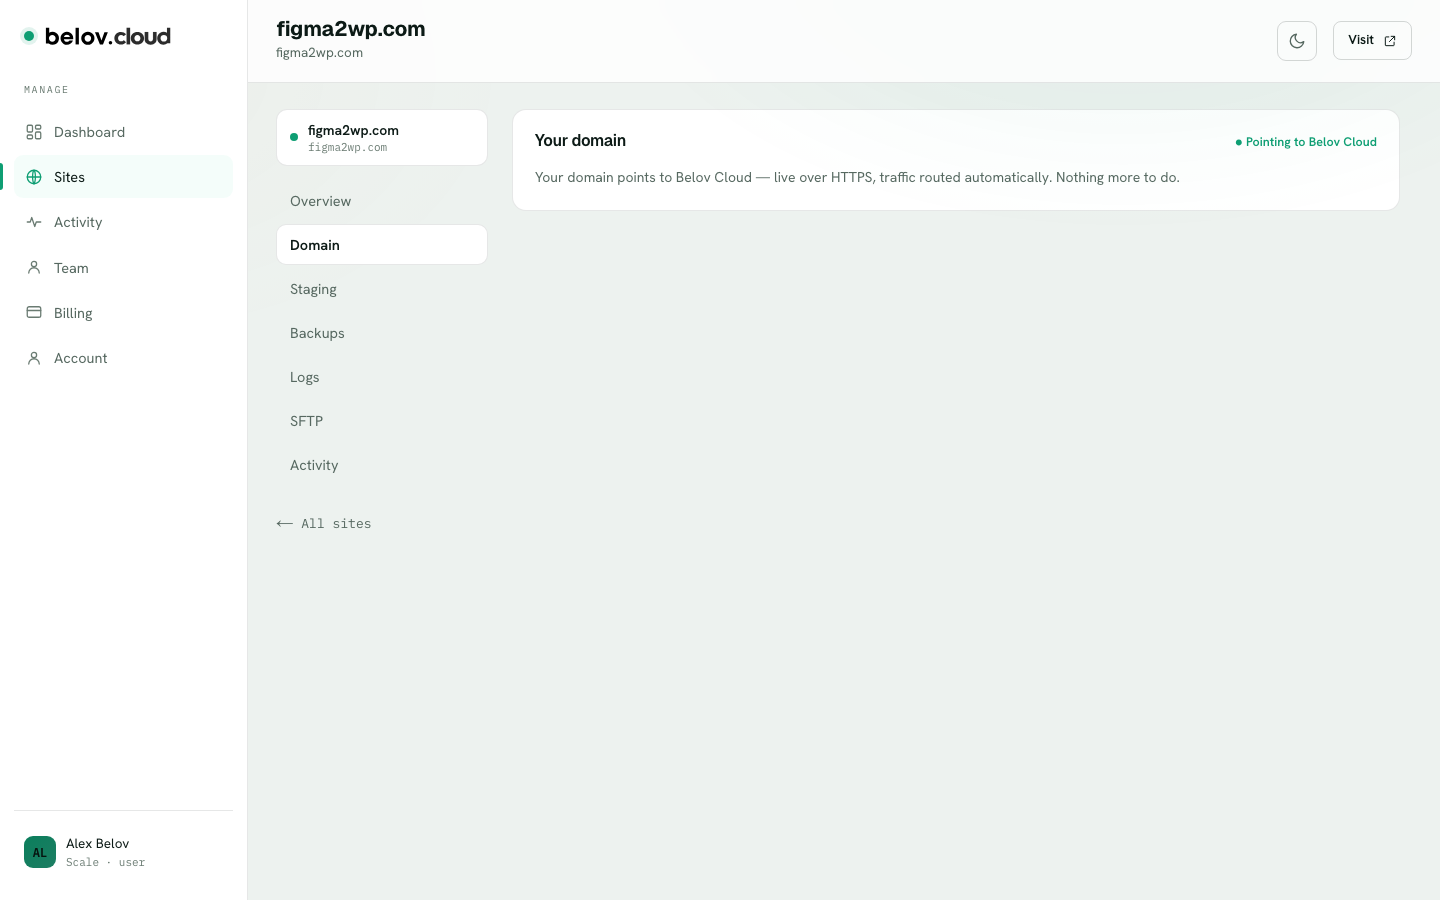
The Domain tab once you're live — pointing to Belov Cloud, HTTPS active, nothing more to do.
What you'll see
A domain status that moves from awaiting DNS to live, an HTTPS badge that turns active on its own, and a go-live entry in your activity feed.
Launching on a different domain?
You don't have to go live under the domain your site arrived with — common after a migration, where the site comes in under its old host's address. Before go-live, the Go live tab has a Change domain option: enter the new domain and the site is re-issued under it in about half a minute, with your preview URL untouched. Only the go-live target changes, so you can point DNS for the domain you actually want.